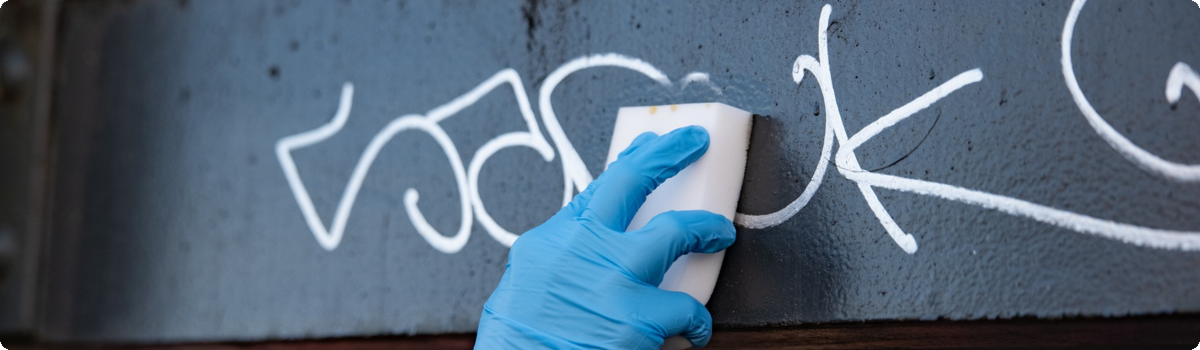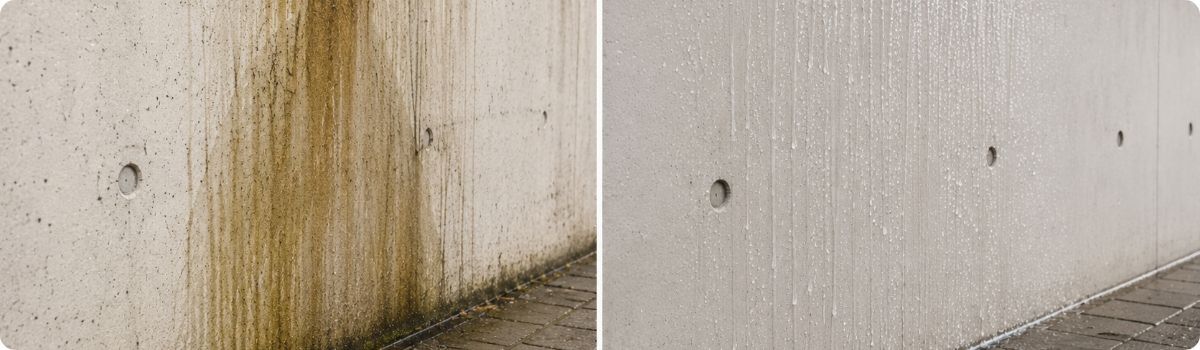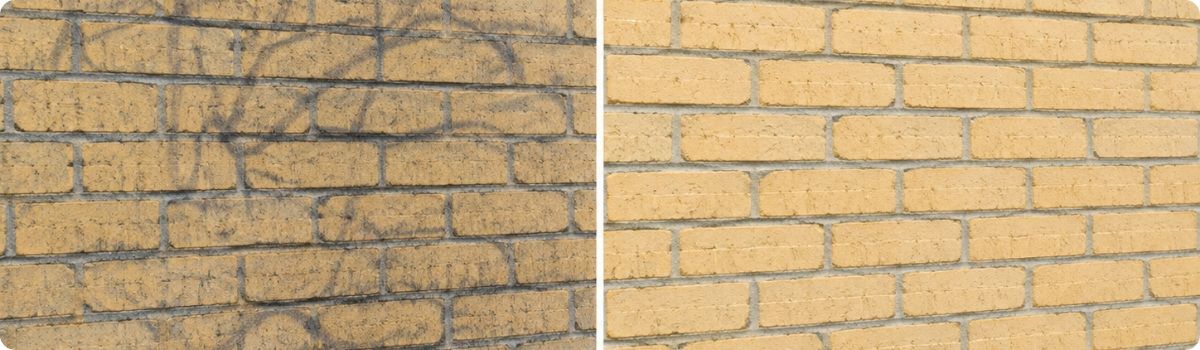
After graffiti has been removed, a faint line, colour or shape may still remain visible. The paint layer is gone, but pigment is still present in the pores of the substrate. This residual image is called a graffiti shadow. Especially on brick, concrete, natural stone and other porous materials, the original image may still be recognisable.
A graffiti shadow requires a separate follow-up treatment. Reapplying the same graffiti remover does not always give the desired result. First complete the removal of the paint layer. Then treat the remaining pigment with a product developed specifically for this purpose. In this blog, you can read how to approach this step by step.
What is a graffiti shadow?
Graffiti consists of paint, ink or marker containing pigments and binders. On an open, porous substrate, part of the pigment can penetrate deeper than the visible paint layer. During the first cleaning step, that layer is dissolved and removed. Pigment in the pores can then remain behind as a flat discolouration.
A shadow is usually not tangible. If you can still see a glossy, thick or raised layer, the first cleaning step has not yet been completed. If what remains is mainly a flat outline in the colour of the graffiti, a specialised shadow remover is the logical next step.
On which substrates can a shadow remain?
Porous substrates absorb pigment more quickly. Examples include masonry, concrete, limestone, tiles and various types of natural stone. Joints can also retain colour. On a rough façade, paint penetrates into small openings that are harder to reach during the first treatment.
A hard, smooth substrate can also show a residual image, but the approach may differ. Plastic, wood, metal and existing coatings can be more sensitive to a powerful cleaner. Always carry out a test patch first and check whether the material is suitable for the selected product.

Which products do you need?
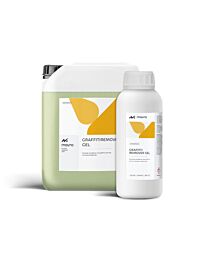
The treatment usually consists of two product steps. First remove the graffiti with a suitable graffiti remover. For many vertical mineral substrates, Graffiti Remover Gel is a practical choice. The gel stays well on the treated area and helps to direct the dissolved paint during removal.
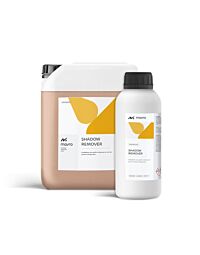
After the first cleaning step, use Shadow Remover for the remaining pigment. This product is intended for graffiti shadows on materials including stone, concrete, masonry, tiles, wood and limestone. Do not use it on soft metals such as aluminium and copper.
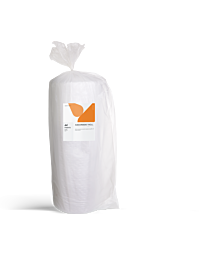
Before treatment, place an Absorbent Roll underneath the work area. The absorbent roll collects product, loosened paint, pigment residues and rinse water. Cut enough material to cover the entire run-off area. Position the roll directly against the bottom of the façade.
Step 1: inspect the graffiti and substrate
First determine which material has been affected. Check the stone, joints, repairs and adjacent surfaces. Look for glass, metal, window frames, plants or painted surfaces next to the treatment area. Protect everything that must not come into contact with the cleaner.
Then assess the type of graffiti. Spray paint, marker and ink can react differently. Also note the visible colour and how long the graffiti may have been present. This information helps when selecting the first remover and evaluating the test patch.
Step 2: create a test patch
Choose a small area that is representative of the entire graffiti mark. Test the graffiti remover there first. Use the same application method, dwell time and rinsing method that you intend to use on the main area. After rinsing, check whether the paint layer has been completely removed.
If a flat colour or outline remains visible, test Shadow Remover on the same test patch. This shows how much follow-up treatment is required and how the substrate responds. Also assess the result after the surface has become less dark as it dries.
Step 3: set up the collection area
Roll out the Absorbent Roll underneath the treated surface. Take into account the direction in which product and rinse water will flow. Also cover edges and low points where liquid may collect. For a large area, several strips can be placed next to each other.
During treatment, check that the roll stays in place and still has sufficient absorption capacity. Replace saturated material in time. This prevents dissolved paint and pigment from spreading across paving, flooring or adjacent substrates.
Step 4: remove the graffiti layer first
Apply Graffiti Remover Gel to the paint layer. Spread the product evenly with a brush or chemical-resistant brush. Allow the product to work for 20 to 60 minutes and regularly work the graffiti with a brush during the dwell time. Then remove the graffiti using high pressure (150 bar) and hot water (approx. 90°C).
Work in manageable sections. Start at the bottom and prevent dissolved paint from running over a clean area. Loosen the paint using the selected method and rinse the surface in a controlled way. Allow the residues to run towards the Absorbent Roll.
Step 5: assess what remains
After the first treatment, check whether paint is still present on the surface. A thick, glossy or raised residue means the first step still needs to be completed. Only use Shadow Remover once mainly a flat pigment image remains visible.
Take moisture into account. A wet façade appears darker and can make a shadow look stronger or less visible. Compare the treated area with the surrounding surface and with the test patch. Take photos from the same position.
Step 6: apply Shadow Remover
Apply Shadow Remover undiluted with a brush or chemical-resistant brush. Spread the product over the entire shadow, including the edges. Work precisely and avoid contact with materials that must not be treated.
Allow the product to work for 2 to 30 minutes. Then remove the shadows using high pressure (70–150 bar) and hot water (40–90°C). Collect the residues with the Absorbent Roll. The required time depends on the pigment, substrate and temperature. Use the result from the test patch as your starting point and continue to monitor the treated area. Do not leave the product on the surface longer than necessary.

Step 7: check the dry result
Allow the surface to dry sufficiently and reassess the treated area. Check the original shadow as well as the colour and structure of the substrate. An old repair or weathered stone may still look different from the surrounding material.
Only repeat the treatment when the test patch shows that a second application is useful. More product or higher pressure does not automatically produce a better result. The aim is a clean surface without unnecessary stress on the façade.
How do you prevent visible streaks?
Work along natural boundaries such as corners, joints or complete façade sections. Apply the product evenly everywhere and use the same dwell time for each section. Avoid random stopping points in the middle of a visible area.
Assess overlaps during the test patch stage. With a large shadow, it may be better to treat the entire surrounding area in a controlled way. This prevents only the outline from becoming clean and creating a conspicuous lighter patch.
Which mistakes should you avoid?
- Using Shadow Remover while a paint layer is still present.
- Not creating a test patch on the actual substrate.
- Placing the Absorbent Roll only after product has already started to run off.
- Failing to protect aluminium, copper or other sensitive parts sufficiently.
- Judging a wet result as final.
- Using too much pressure on joints or vulnerable stone.
- Mixing products or reusing tools without checking them first.
What do you need for the treatment?
- A suitable graffiti remover for the first paint layer.
- Shadow Remover for graffiti shadows.
- A brush or chemical-resistant brush.
- Absorbent Roll for product residues and rinse water.
- Materials for protecting the surrounding area.
- Suitable personal protective equipment.
- Equipment for controlled rinsing with warm water.
Removing graffiti shadows with Mavro
A good result depends on using the products in the correct sequence. First remove the graffiti. Then check whether any pigment residue remains visible. Treat that shadow with Shadow Remover and collect loosened residues immediately with the Absorbent Roll.
View Shadow Remover, Graffiti Remover Gel and the Absorbent Roll in the Mavro shop. For help choosing the right product or assessing a difficult test patch, call +31 418 680 680.
How do you prepare an order?
Measure the affected surface and take photos of both the graffiti and the substrate. Indicate whether it is spray paint, marker or an unknown product. Also note whether the façade is horizontal or vertical and which cleaning equipment is available.
Order enough Graffiti Remover for the first paint layer and Shadow Remover for the follow-up treatment. Allow for a test patch and a possible second treatment. Always include enough Absorbent Roll for the entire run-off area and for replacement during rinsing.
Before leaving, check that brushes, chemical-resistant brushes, protective sheeting and personal protective equipment are available. A complete product set prevents the treatment from having to stop after the first step while pigment residue is still visible.
Also take clean water and separate tools for each product step. Clearly mark the brushes so that Graffiti Remover and Shadow Remover are not mixed via the tools. This keeps the application process organised and makes the result more repeatable.